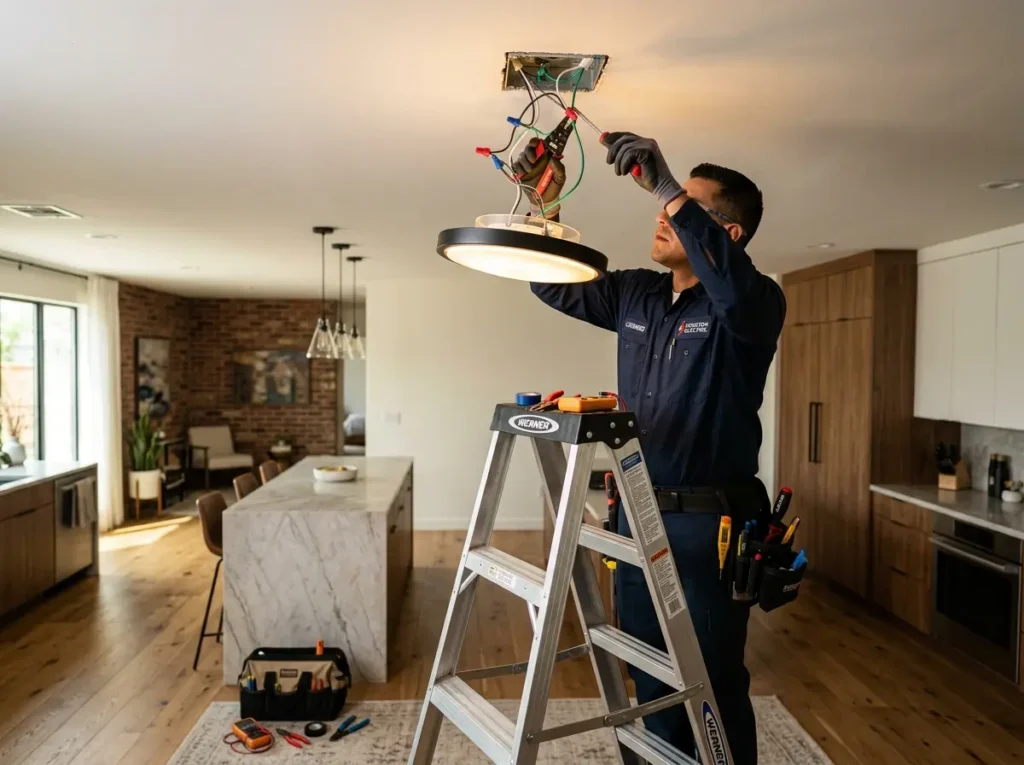

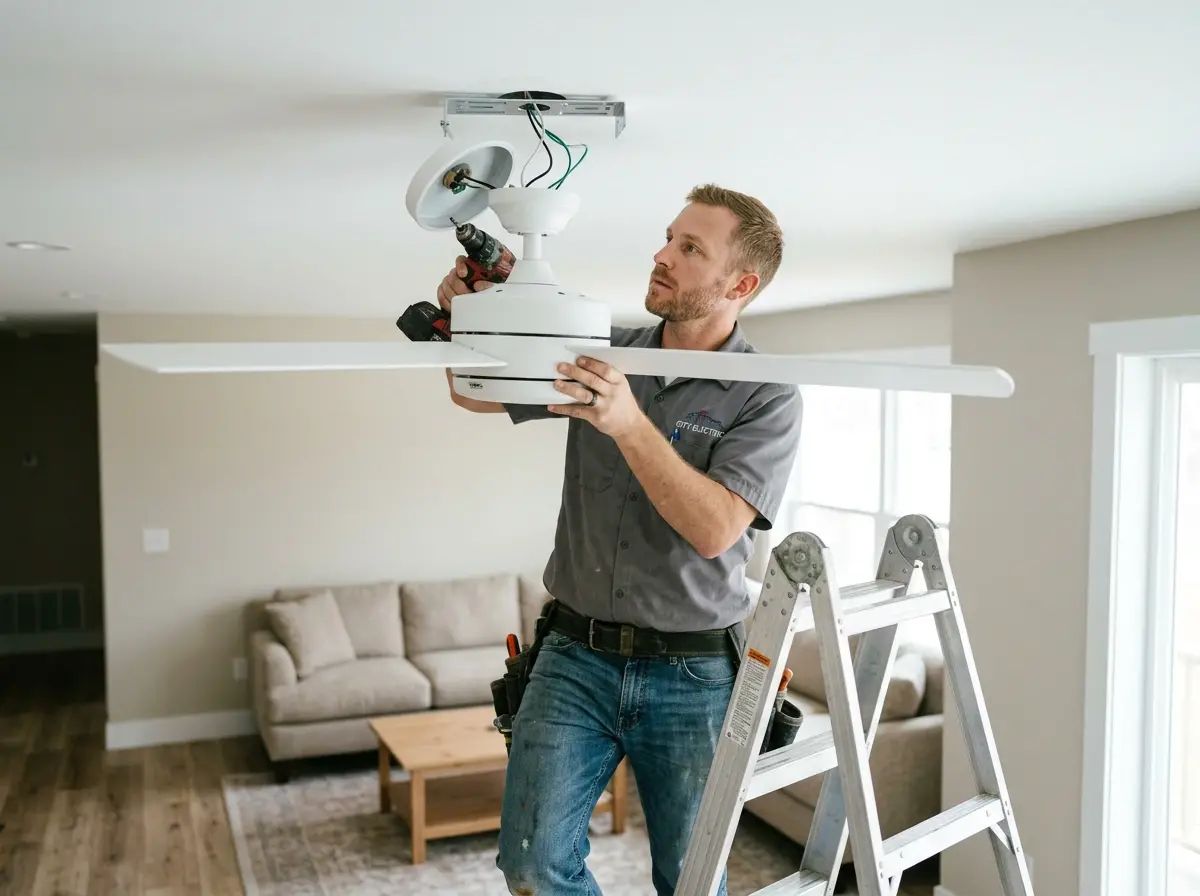
Ceiling Fan Installation in Breckenridge, Rockford – Expert Mounting, Balancing, and Code‑Compliant Electrical Work
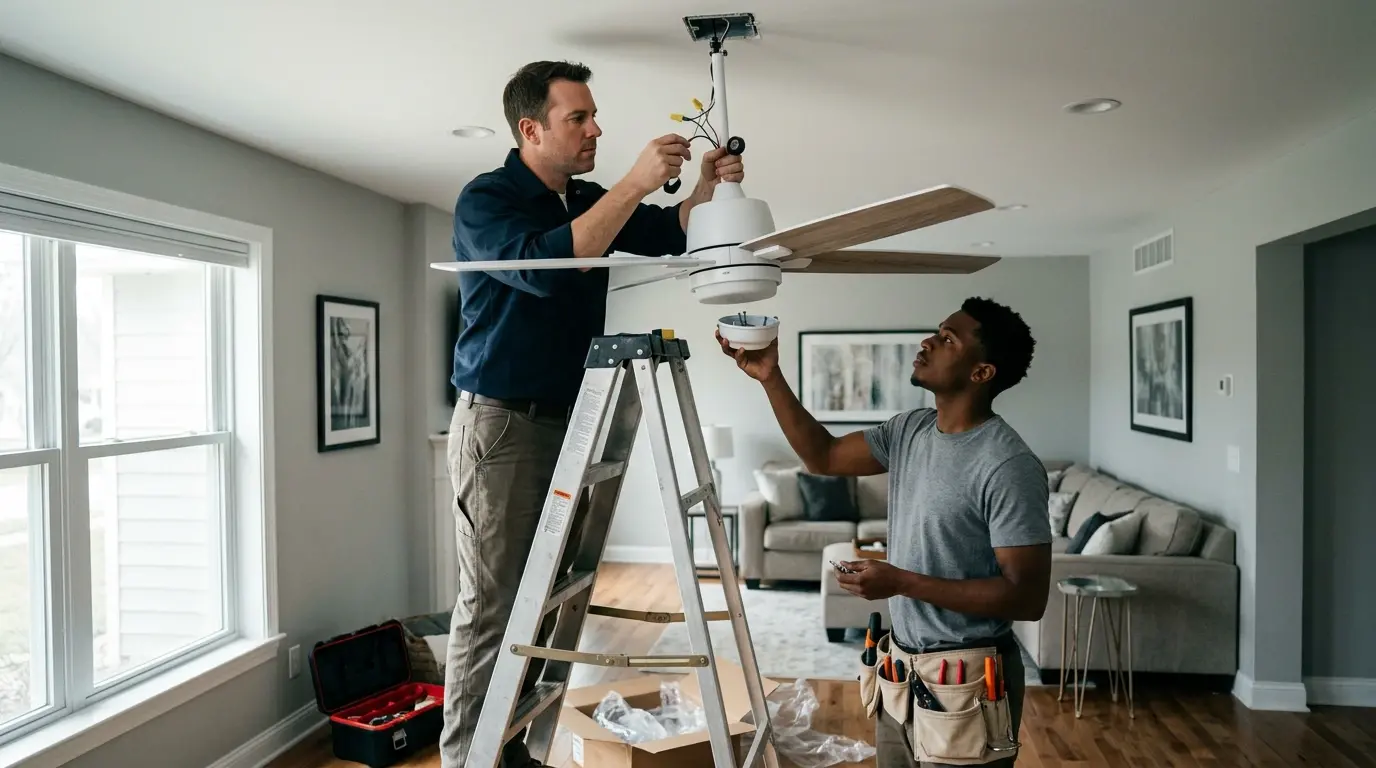
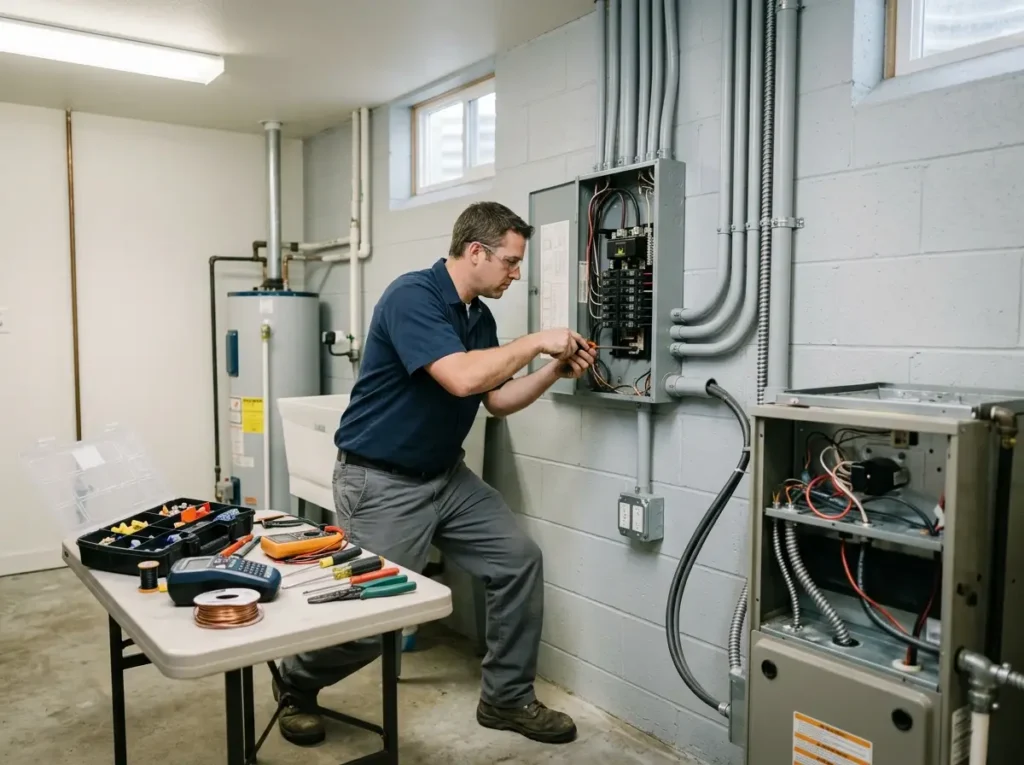
A ceiling fan should cool you down, not stress you out. But when it wobbles like a helicopter about to take off, hums like a beehive, or simply refuses to turn on, that fan becomes a daily frustration. Worse, a fan that is not properly secured can loosen over time and eventually fall, pulling live wires from the ceiling. In homes across Breckenridge and Rockford, we routinely find fans mounted to plastic electrical boxes designed for lightweight light fixtures – boxes that were never meant to support the weight and motion of a spinning fan. Our licensed electrical company solves these problems for good. We specialize in ceiling fan installation, ceiling fan replacement, and ceiling fan repair from the ground up. We inspect the existing box, replace it with a fan-rated box rated for 35‑70 pounds, run new wiring if needed, and install the fan so it is perfectly level and vibration‑free. We also handle complex situations: angled ceilings (slope up to 45°), very high ceilings requiring extended downrods, and fans without existing wiring (we run new circuits from the panel). Homeowners in Breckenridge and Rockford who choose us get a fan that runs silently, stays put, and moves air exactly as intended – whether they need a flush‑mount fan for a low bedroom ceiling or a dual‑motor fan for a great room with 20-foot vaults.
Complete Scope of Our Ceiling Fan Services – What We Actually Do (With Timelines)
No two ceiling fan projects are alike. A simple swap in a newer home might take an hour; a brand‑new installation in a 1920s bungalow can take half a day. Below is the full menu of what we offer to homeowners in Breckenridge and Rockford, along with realistic timeframes based on our job logs.
- Ceiling fan installation (new, where none existed) – run a new circuit from the panel, install a fan-rated box between joists, fish wires through finished ceiling, mount fan, and connect wall control. Time: 3‑5 hours.
- Ceiling fan replacement – remove old fan, verify the existing box is fan-rated, install new fan. If box is not rated (common in older homes), we replace it (add 30‑60 minutes). Time: 1.5‑2.5 hours.
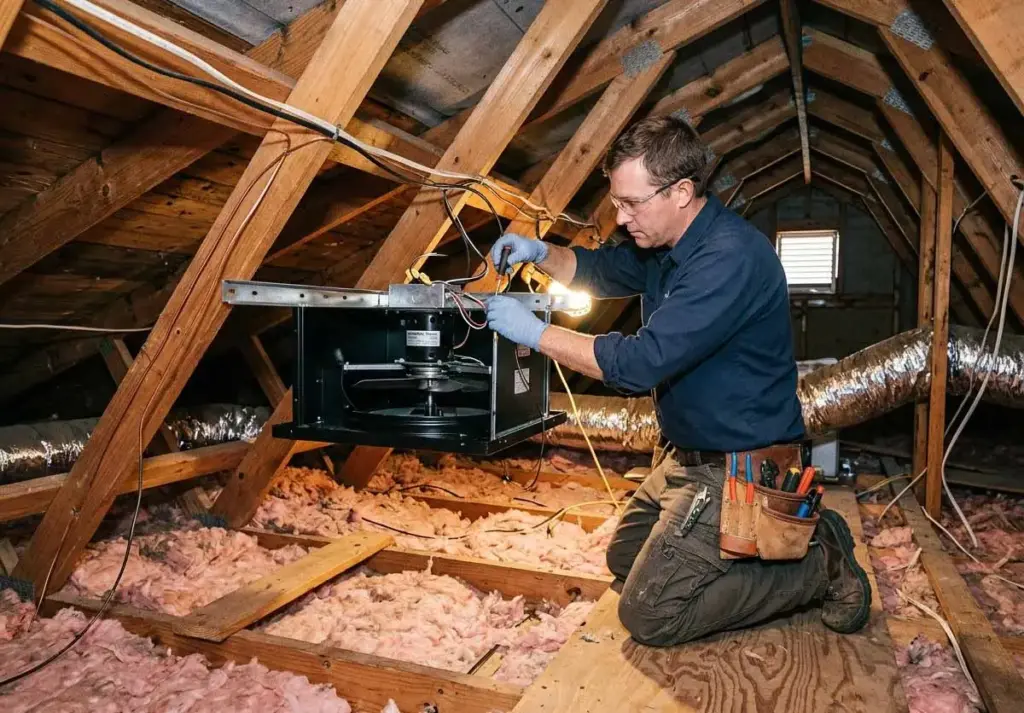
- Fan-rated box retrofit – installing an old‑work brace (like a Westinghouse Smart Box or Raco 574) through a 4‑inch hole, no attic access needed. Time: 30‑60 minutes per box.
- Downrod sizing and extension – for ceilings over 9 feet, we select the correct downrod (12″ to 72″) based on blade clearance (minimum 7 feet above floor, ideally 8‑9 feet). Time: add 15‑30 minutes.
- Wobble repair and balancing – using a laser level to detect which blade is out of plane, then adding balancing weights or adjusting blade pitch with a pitch gauge. Time: 30‑60 minutes.
- Remote control installation – wiring the receiver inside the canopy, pairing with a remote, and programming fan speeds and light dimming. Time: 30 minutes.
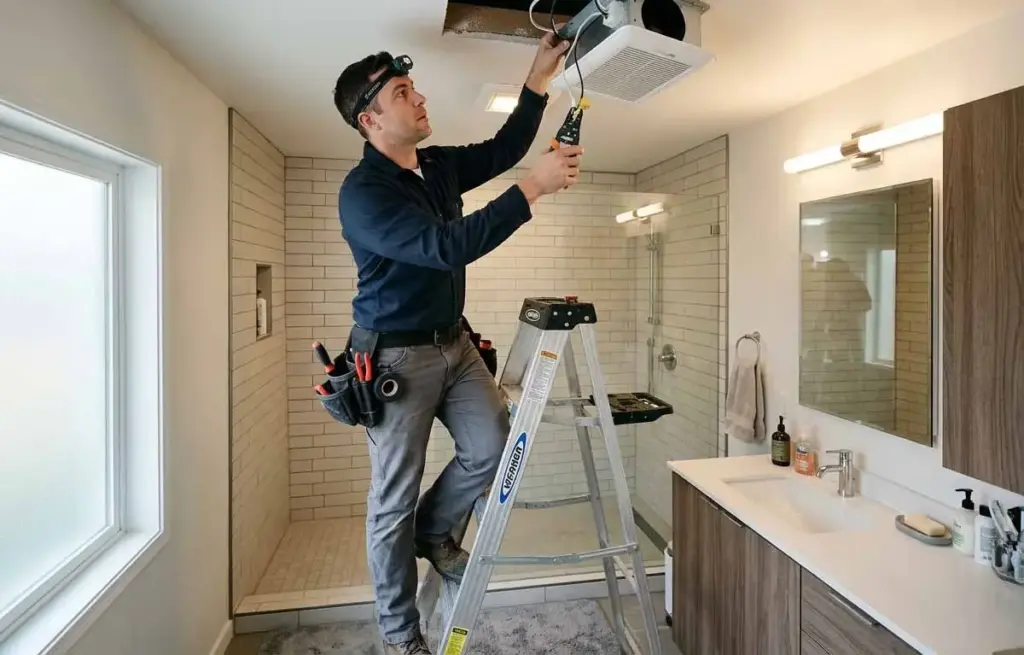
- Ceiling fan repair – non‑spinning motor (bad capacitor or worn bearings), humming noise (loose laminations or bad switch), broken pull chain, or light kit failure. Time: 45‑90 minutes.
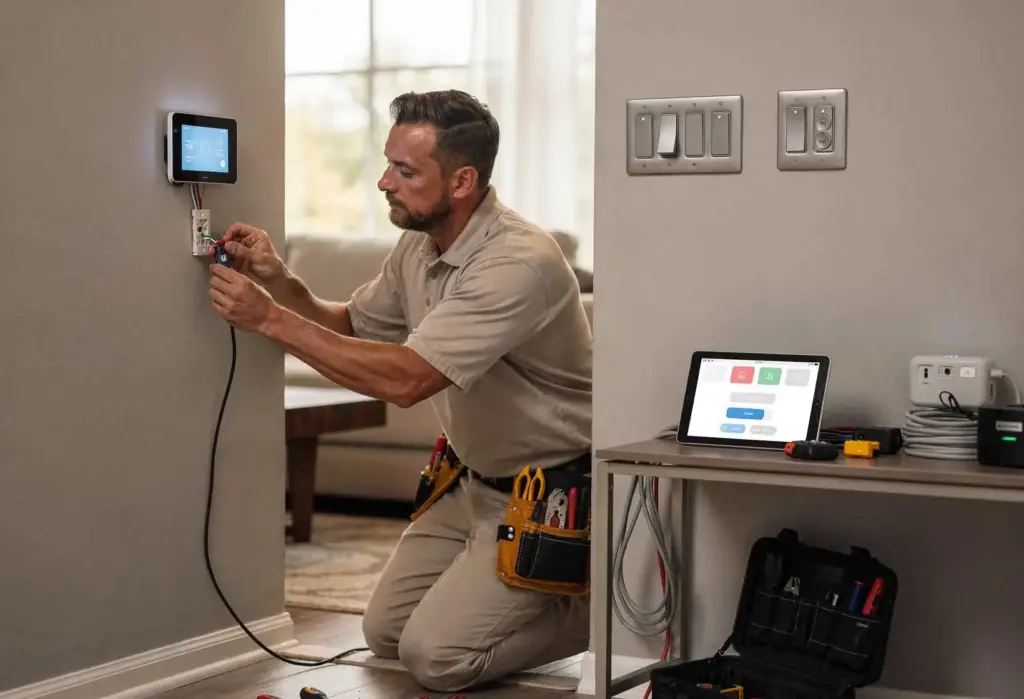
- Smart fan installation – fans with WiFi or Bluetooth connectivity, app control, voice assistant integration (Alexa, Google, HomeKit), and scheduling. Time: 45‑60 minutes per fan.
Top Ceiling Fan Problems We Fix in Breckenridge and Rockford – Causes, Diagnosis, and Repair Times
We have repaired hundreds of ceiling fans across Breckenridge and Rockford. The same issues come up again and again. Here is what we find, why it happens, and how long it takes us to make it right.
- Fan wobbles excessively – most often because blades are unbalanced or the mounting bracket is loose. Many homeowners try to fix this by tightening screws, but the real cause is often a warped blade or a ceiling box that moves. Fix: Use a balancing kit or replace the blade set. If the box moves, we install a fan-rated box with a metal brace. Time: 1‑2 hours.
- Fan hums when on high speed – caused by a tired capacitor (a small cylindrical component inside the motor housing) or a fan motor that is not compatible with a wall dimmer (dimmers cause a buzzing sound). Fix: Replace the capacitor (costs $10‑$20) or replace the wall control with a proper fan speed controller. Time: 30‑45 minutes.
- Fan runs, but moves little air – blades too small for the room (e.g., 42″ fan in a 20×20 room), or the fan is installed too close to the ceiling (no downrod). Fix: Replace with larger blades or add a downrod to lower the fan to 8‑9 feet above the floor. Time: 1‑2 hours.
- Remote control stopped working – battery dead, receiver unpaired, or electrical interference from a nearby device (fluorescent light, baby monitor, Wi‑Fi router). Fix: Replace battery, re‑pair receiver, or move the receiver to a different location in the canopy away from power wires. Time: 15‑30 minutes.
- Fan light flickers – loose light bulb, loose wire nut inside the light kit, or a faulty socket. Fix: Tighten bulb, tighten wire nut, or replace the socket assembly. Time: 15‑30 minutes.
- Fan does not turn on at all – tripped breaker (often a GFCI or AFCI breaker that has nuisance tripped), loose wire in the canopy (a wire nut fell off), or dead wall switch. Fix: Reset breaker, re‑splice wires, or replace the switch. Time: 30‑60 minutes.
- Fan makes clicking noise at low speed – internal clearance issue or foreign object (insulation, paper, dead insect) inside the motor housing. Fix: Remove and clean housing (30‑45 minutes) or replace motor if bearing failure.
Most single‑issue repairs are done within 1 hour. Whole‑home installations (e.g., replacing fans in all three bedrooms and the living room) take 3‑5 hours total, and we offer a discount for bundling multiple fans (typically 10% off for 3+ fans). We always provide an itemized quote before starting, with a clear breakdown of materials (box, downrod, remote, etc.) and labor.
Beyond fixing problems, we also offer preventative upgrades. For example, we can install a smart fan controller that lets you adjust speed and lights from your phone or via voice command. We can add a light kit to a fan that came without one, as long as the fan model supports it (requires checking compatibility). We also show homeowners how to clean their fan blades properly – many people accidentally unbalance blades by wiping only one side or using oily cleaners that attract dust.
Why You Should Never Let a Handyman Install Your Ceiling Fan – Safety, Code, and Longevity
It is tempting to hire a handyman for a ceiling fan install. They charge less and promise quick work. But the risks are serious. Handymen often do not know the difference between a standard ceiling box (usually ½” deep plastic) and a fan-rated box (deep metal or heavy plastic with a bracket that attaches to joists). They use a plastic box mounted with drywall screws; after a year of wobbling, the screws pull out, and the fan crashes down. They also ignore downrod length: on a 12‑foot ceiling, they might mount the fan flush, causing poor airflow (air just circulates at the ceiling) and a dangerous imbalance because the fan is not designed for that mounting. Even worse, they may connect the fan to a lighting circuit without a proper ground, creating a shock hazard. Our team follows every relevant NEC rule: box support (314.27), conductor sizing (for the fan motor plus light kit – typically 12‑gauge for a 20‑amp circuit), and proper use of fan-rated canopy hardware. We also torque all screws to manufacturer spec using a torque screwdriver, because loose screws are the number one cause of wobble after installation. For homes with aluminum wiring (common in homes built 1965‑1973 across much of Breckenridge and Rockford), we use special CO/ALR wire nuts or AlumiConn connectors to prevent corrosion and overheating. Handymen rarely carry those parts. When we finish, we run the fan for 10 minutes on every speed, check for vibration with a smartphone vibration meter (acceptable level: under 0.5 inches per second), and leave a one‑year warranty on both parts and labor. That level of care means you never have to think about your fan again – it just works.
We also help with warranty claims. If your new fan from a big‑box store is missing a part or has a defect, we document the issue with photos and help you process the return. Many homeowners in Breckenridge and Rockford appreciate this because they do not have to disassemble the fan themselves, pack it up, and drive back to the store. We can often handle the return for you or coordinate a replacement part directly with the manufacturer.
Another value‑add: we offer seasonal fan reversal service. Ceiling fans should spin counter‑clockwise in summer (pushing air down for wind‑chill effect) and clockwise in winter (pulling air up to circulate warm air trapped at the ceiling). Many homeowners forget to flip the switch. We remind you during our visit, and for smart fans, we can program automatic seasonal reversal based on calendar dates.
Ready for a Safe, Silent, and Wobble‑Free Ceiling Fan in Breckenridge, Rockford? Call the Experts Today
Stop living with a noisy, unbalanced, or unsafe ceiling fan. Contact us to schedule a ceiling fan installation, replacement, or repair in Breckenridge or Rockford. We provide free, no‑obligation quotes over the phone or in person. We serve residential customers only, with upfront pricing and clean, professional work. From fan-rated box installation to downrod sizing, blade balancing to remote control programming – we do it all. Call now and feel the difference a properly installed fan makes in your comfort and peace of mind.